Replacing a mixer tap
Disclaimer: Written by me, polished by AI.
If you’re thinking of DIY-ing your bathroom mixer tap replacement… DON’T. Seriously, just pay a professional plumber.
Here’s my story.
A long time ago, I bought a mixer tap from IKEA, thinking I could replace it myself. Just unscrew the old one, install the new one, and screw everything back. How hard could it be?
Haha…
Problem #1 – Working in a Tight Space
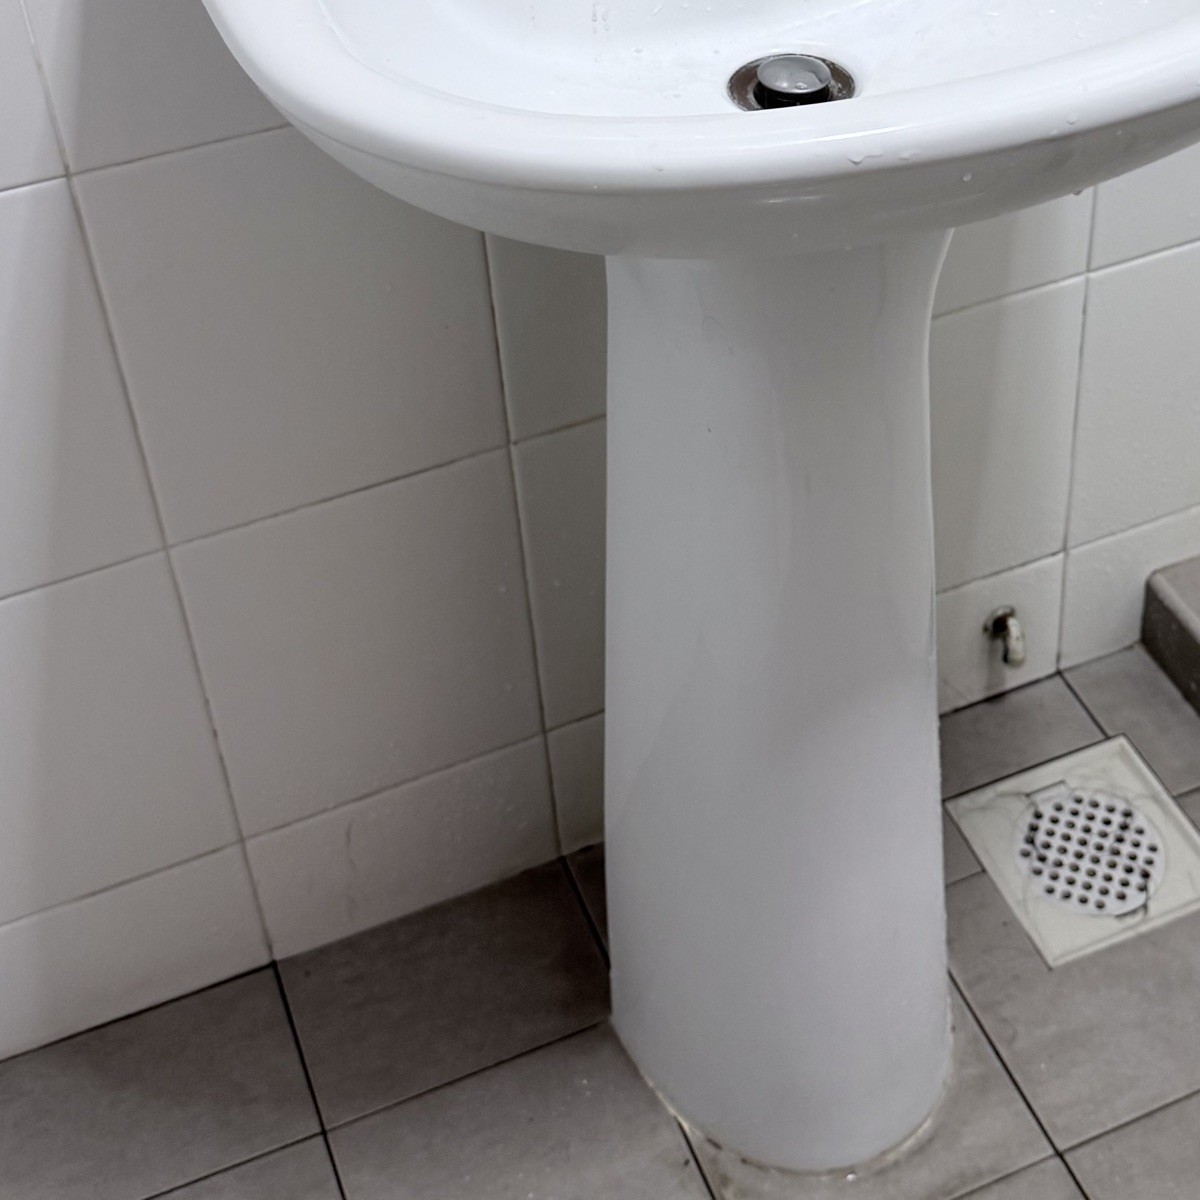
The tight space
The first challenge was removing the water hoses from the angle valves.
There was barely any room to work under the basin. I basically had to squat there, reaching around blindly because I couldn’t even see what I was doing.
By the time I finished, I was sweating buckets.
Problem #2 – The Drain Lever Rod
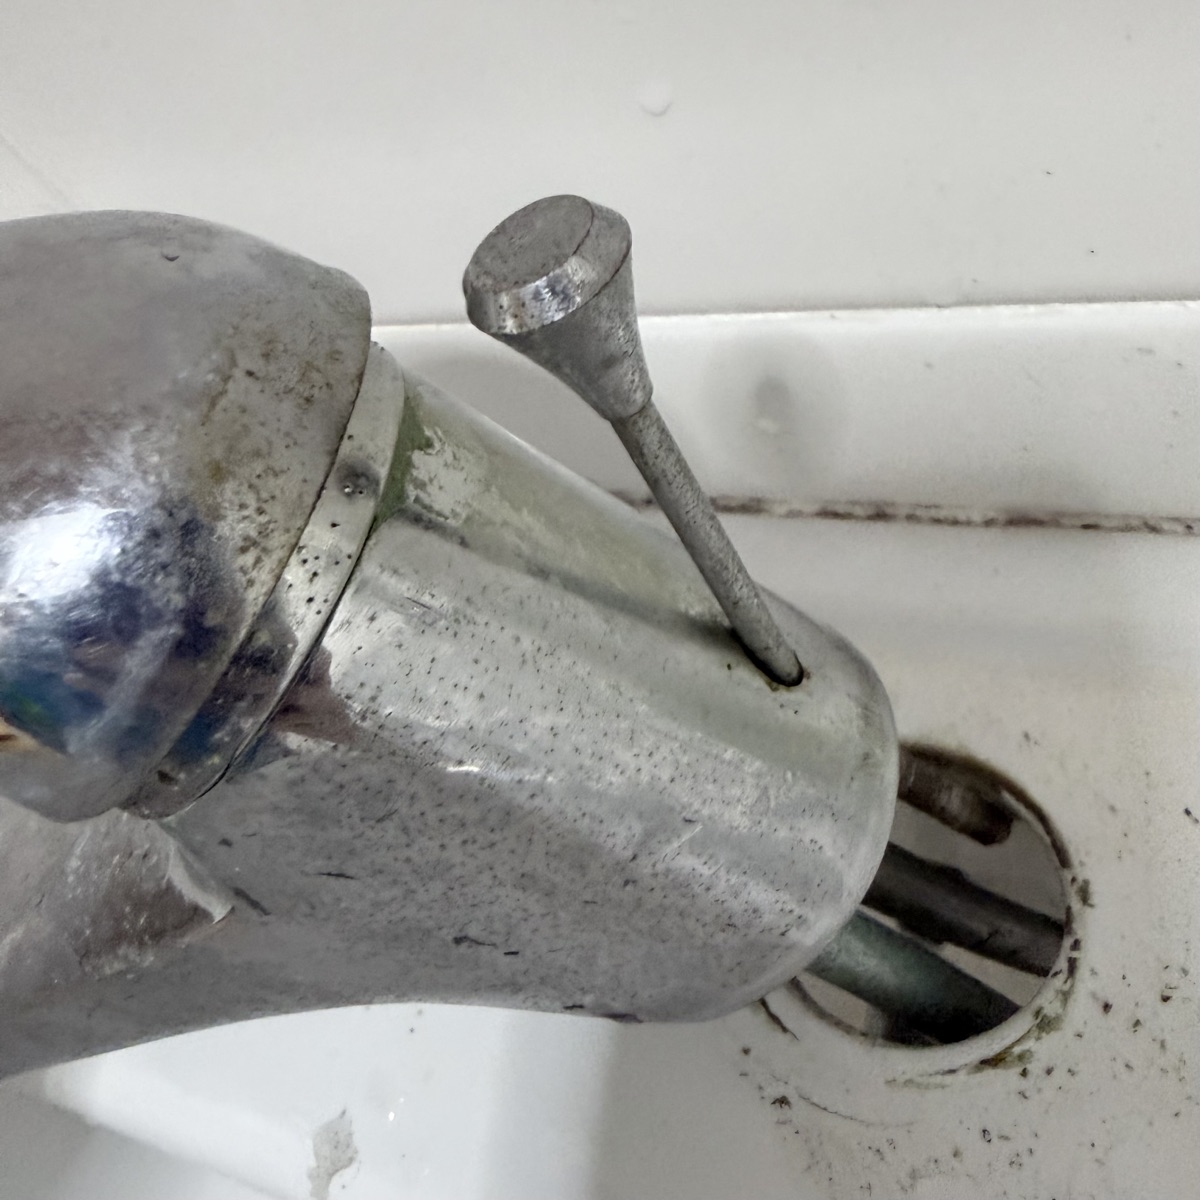
The stupid rod
I then realised the mixer tap was connected to the basin drain stopper through a metal lever rod.
Even after disconnecting the hot and cold water pipes, the tap was still attached.
The screw securing the rod was so rusty that it refused to budge. In the end, I had to twist the rod until it bent enough for me to remove it. It felt pretty dangerous because if it suddenly sprang back, it could easily cut my hand.
Problem #3 – Water Leakage
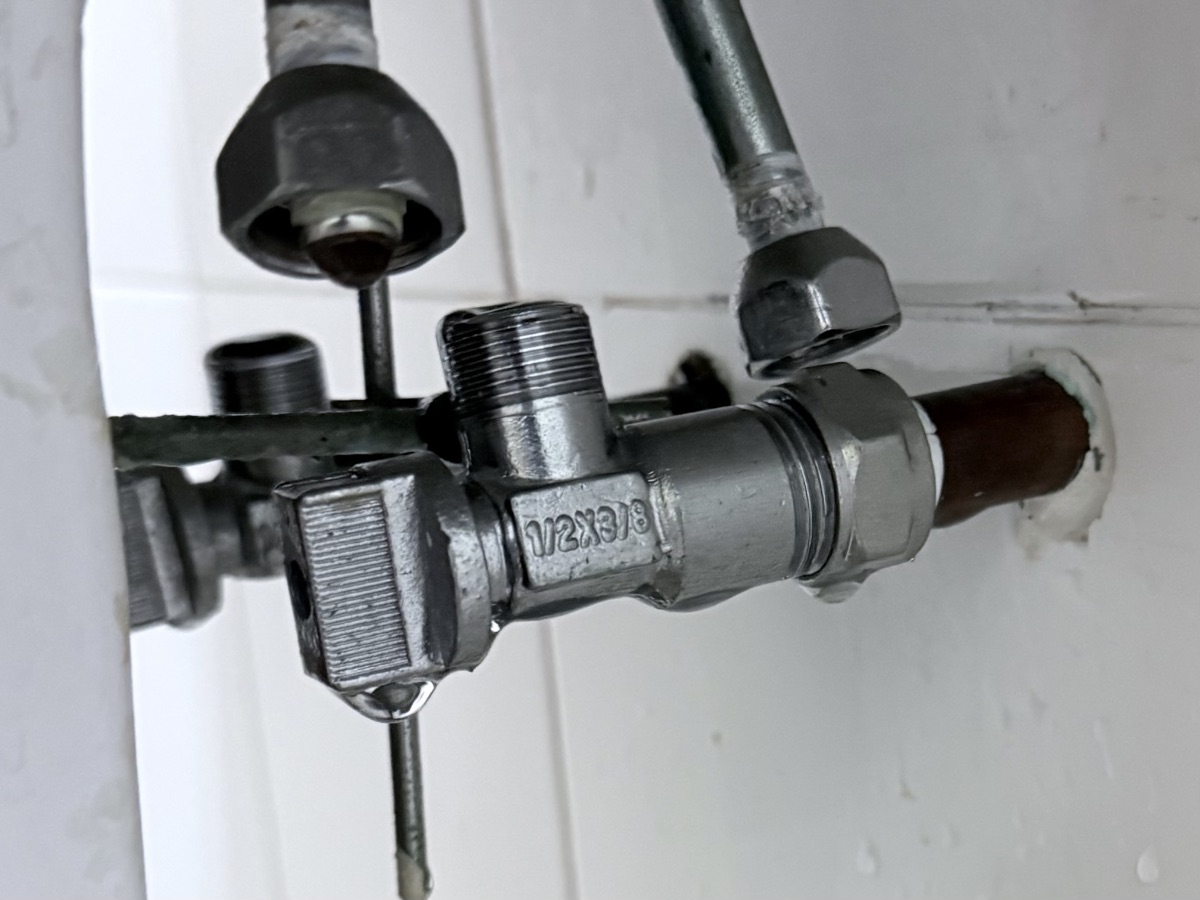
New leaking problem
While removing everything, I noticed water leaking from one of the angle valves.
Great.
A brand new problem I wasn’t expecting.
Problem #4 – The Connectors Don’t Match
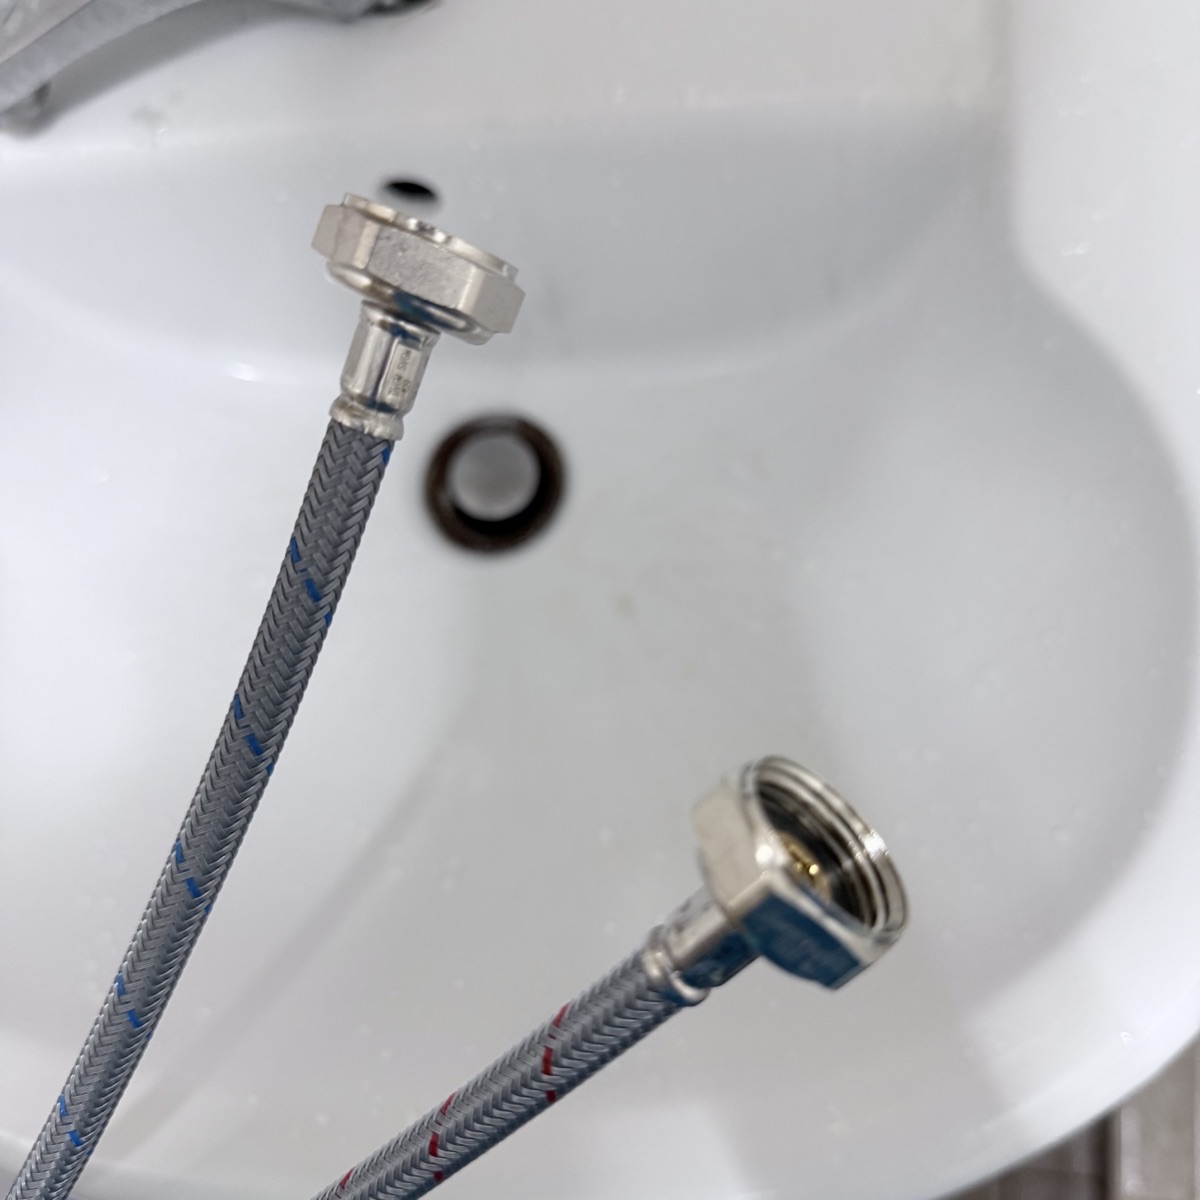
IKEA's hose connectors are bigger
Then I discovered that IKEA’s hose connectors were different from my existing angle valves.
At this point, I surrendered.
I decided to hire a plumber.
Problem #5 – No Plumber Wanted the Job
I contacted the only two plumbers listed by the Town Council.
One never answered my call.
The other said he was taking a nap and asked me to message him instead. I did.
The next day… no reply.
I guess replacing a mixer tap wasn’t worth their time since I had already bought the tap myself.
No choice.
Back to DIY.
After some research, I found out I needed 1/2” × 1/2” angle valves. To replace those, I first had to shut off the main water supply.
Problem #6 – The Missing Handle
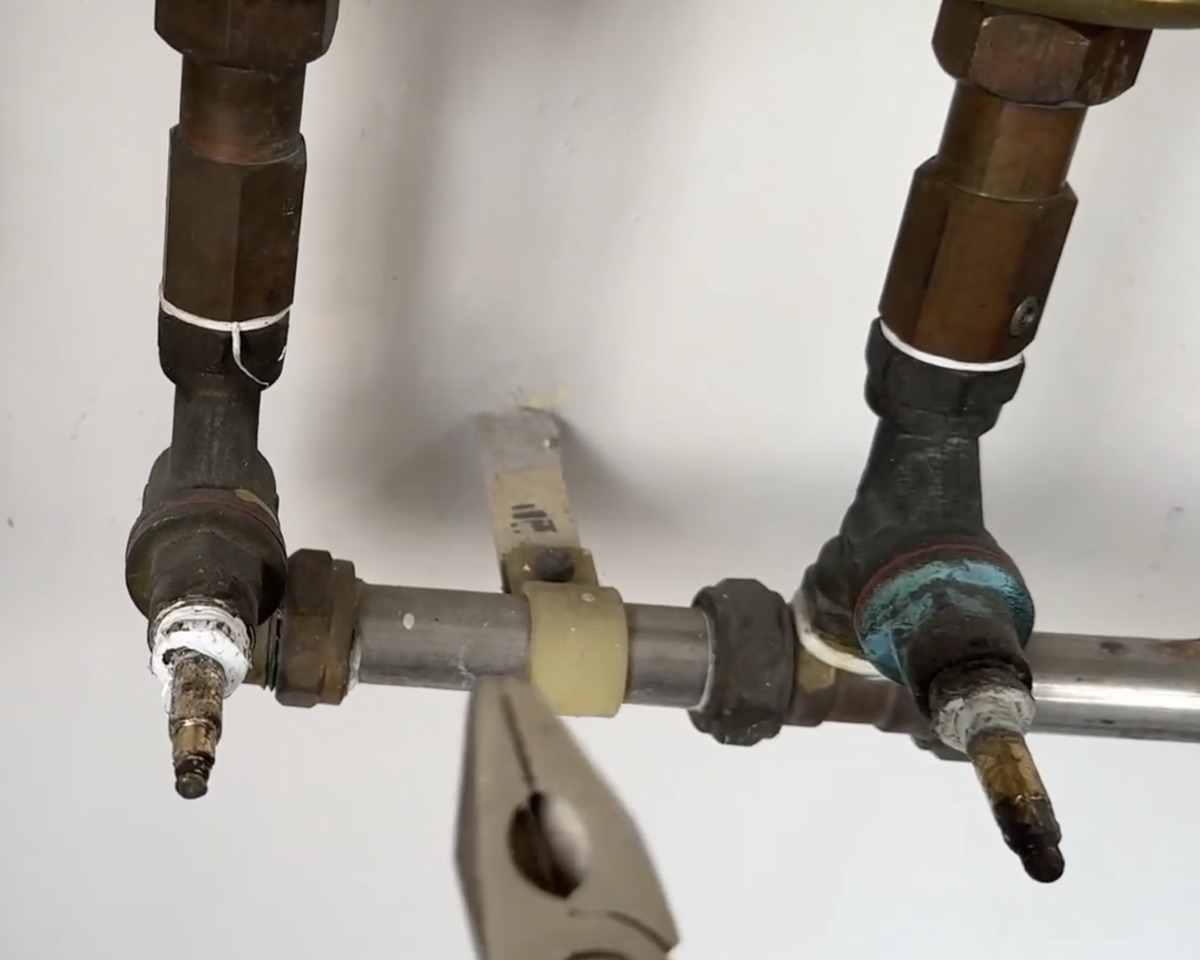
No handle ah?
I went outside to the service cabinet where the gas and water meters were.
To my surprise, the water shut-off valve had no handle.
Just two metal stems sticking out.
Like that how to turn?
I found a YouTube video showing how to shut it off using pliers.
Bad idea.
Pliers can damage the stem.
After staring at it for a while, I realised an adjustable spanner was the perfect tool.
First, loosen the locking nut.
Then use the spanner to turn the stem and shut off the water supply.
Success.
I headed out to buy the angle valves.
Instead of visiting the hardware shop near my house, I travelled almost half an hour to an old-school hardware store. Somehow I trusted those traditional neighbourhood shops more for finding obscure plumbing parts.
When I arrived, I was greeted by an elderly lady who had serious “lady boss” energy.
I explained what I needed.
She confidently handed me a valve.
To be safe, I pulled out my entire IKEA mixer tap from my bag (yes, I brought the whole thing) and checked that it fitted.
So far, so good.
I then asked about the other threaded end.
She confidently assured me that it was the standard size for Singapore’s water supply.
I trusted her.
Bought two valves.
Another half-hour journey home.
Problem #7 – The Hole Is Too Small
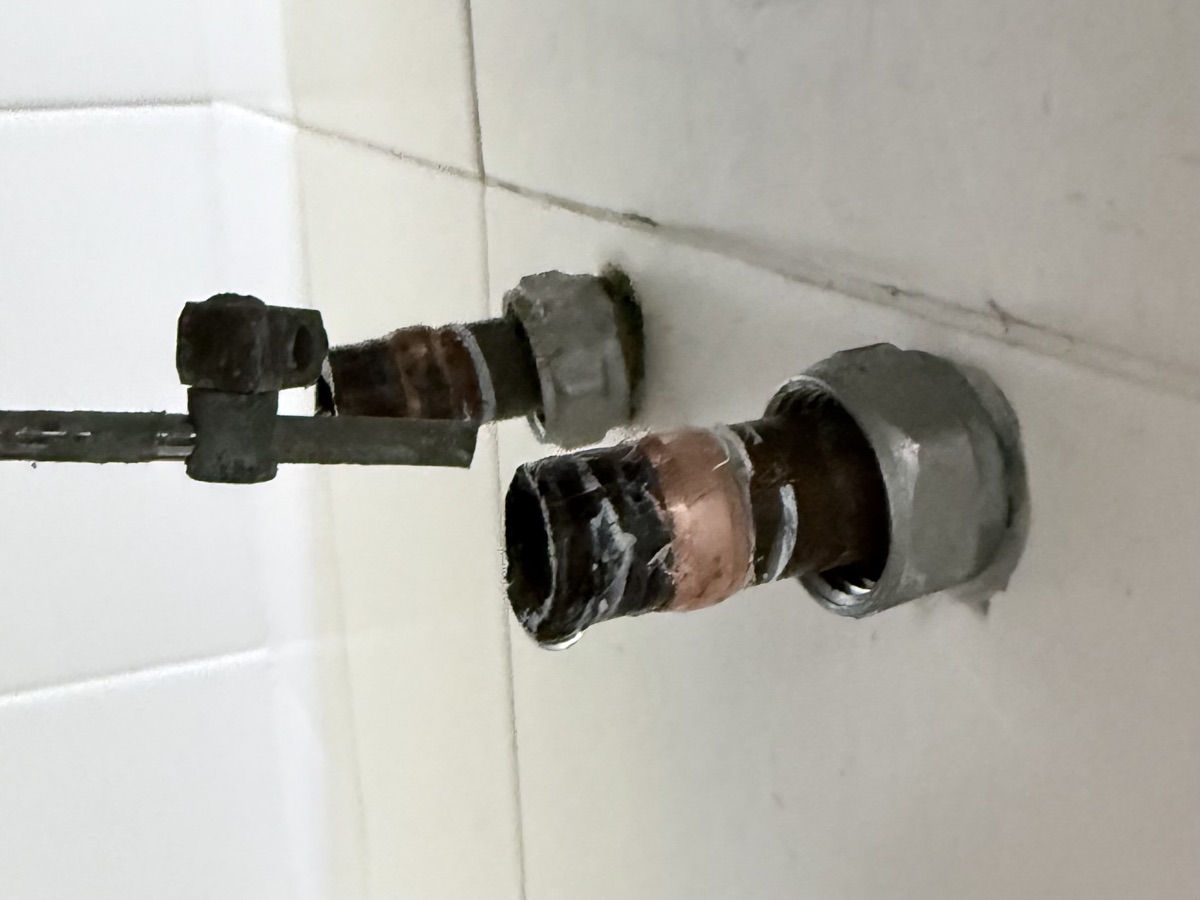
Hole is too small for this
Feeling optimistic, I cleaned everything up and prepared to install the new valves.
Then…
WTF.
The hole was too small.
The outer dimensions looked identical to my old valve, but the inner diameter was smaller.
From the outside, they looked exactly the same.
By this point, my energy bar was almost empty.
I briefly considered calling a plumber again.
But then I thought…
“I’ve already finished 80% of the job. Calling a plumber now would be stupid.”
I took a short break.
Then another thought hit me.
My wife and son would be home later.
The main water supply was still turned off.
No water means no shower.
No flushing the toilet.
GG.
Surely I wasn’t going to reinstall the old valves just to turn the water back on temporarily.
No way.
I don’t do double work.
The more I thought about it, the more anxious I became.
I told myself:
Die die also must settle this before they come home.
So I dragged myself back to the same hardware shop.
I explained my “outer diameter same, inner diameter different” theory to the lady boss.
She disappeared into the shop and came back with a gauge.
She tested both valves.
Then proudly declared,
“See? Same mah.”
She was measuring the outside.
I told her,
“No… the outside is the same. The inside hole is smaller.”
She still insisted that if the outside matched, it should fit.
I swallowed my frustration and explained again.
Finally, she disappeared into the shop once more.
This time she returned with another valve.
It was ugly.
Much uglier than my old one.
Even worse…
The two replacement valves didn’t even match each other.
Different design.
Different size.
Different everything.
I compared them carefully against my old valve.
They looked correct.
I really couldn’t accept having mismatched hot and cold valves…
But I was running out of time.
No choice.
Just buy.
Problem #8 – It Still Doesn’t Fit
Back home again.
I tested the valves.
One fitted perfectly.
The other…
Too tight.
SHIT.
I could only force it in slightly.
Not enough to create a proper seal.
With the limited working space, I couldn’t even tap it in with a hammer.
Wah lao eh.
For the third time that day, I left my house and went to the nearby hardware shop to try my luck.
Thankfully, they had one that fitted.
Also ugly.
At this point, I didn’t care anymore.
I grabbed it, rushed home, installed both mismatched valves, turned the main water supply back on…
No leaks.
Finally.
Mission accomplished.
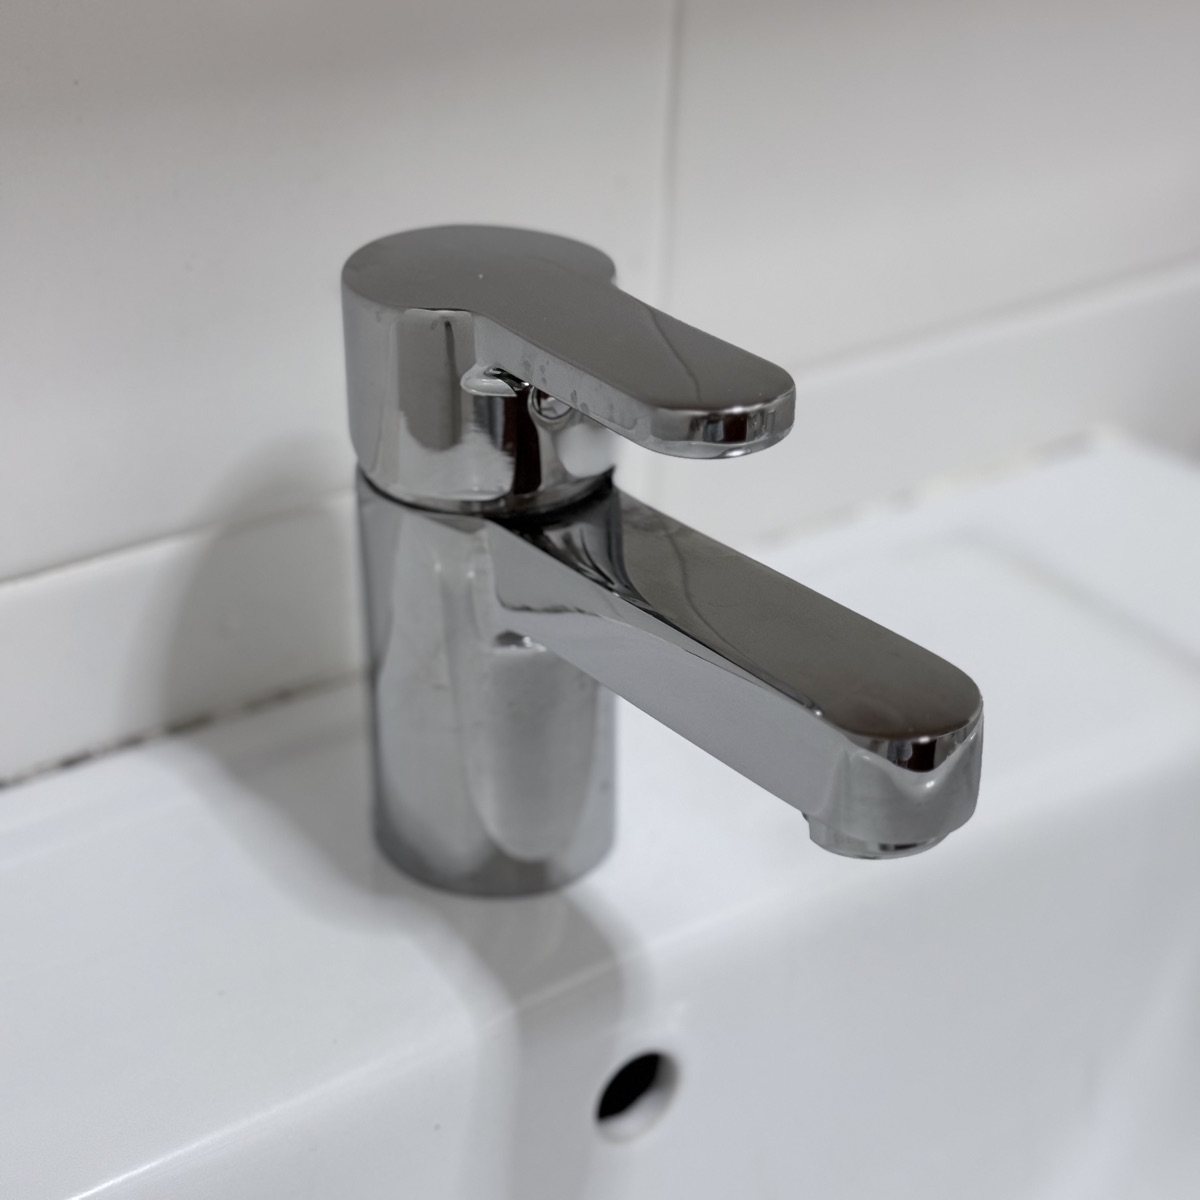
IKEA ENSEN Mixer Tap
So if you ask me today whether I’d recommend replacing your own bathroom mixer tap…
Absolutely not.
Just pay the plumber.